Design

Best Free & Paid Graphic Design Tools in 2025

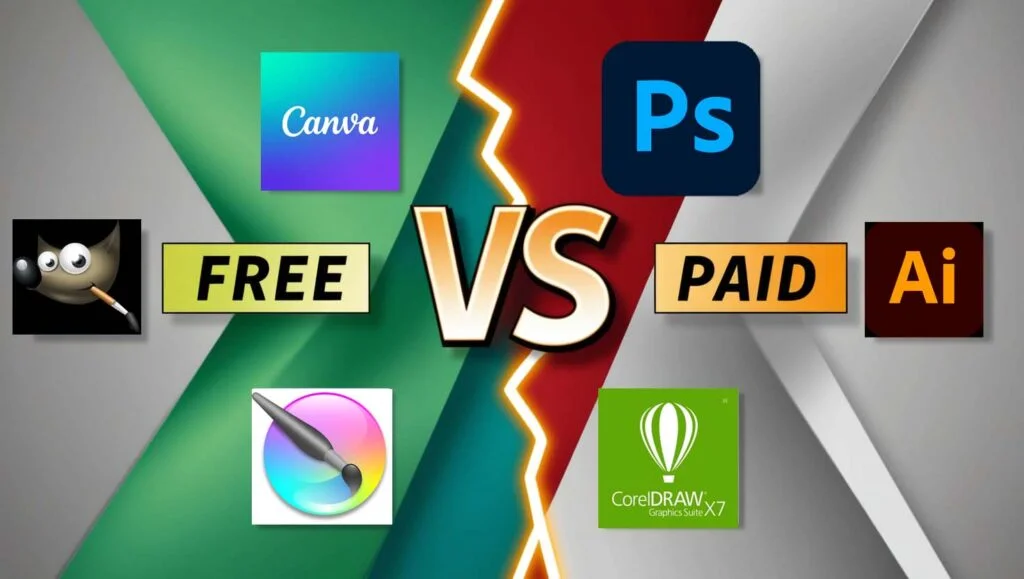
Top Free & Paid Graphic Design Software in 2025 Graphic design is important for branding, marketing, and visual storytelling. Whether you are a professional designer, business owner, or enthusiast, the right tools can make a big difference. In 2025, there are many free and paid graphic design tools to choose from, each serving different purposes and skill levels. Here’s a summary of the best graphic design tools you should use. Best Free Graphic Design Tools 1. Canva Canva remains a top pick for beginners and experts. It has an easy drag-and-drop interface and provides thousands of pre-made templates for social media, presentations, posters, and so on. The free account provides an enormous library of design items, but advanced tools need a paid subscription. 2. GIMP (GNU Image Manipulation Program) GIMP is an impressive open-source alternative to Photoshop. It has sophisticated image editing capabilities, such as layers, masks, and effects filters. Though it’s more difficult to learn, it’s a great free software for working professionals who need a Photoshop substitute. 3. Figma Figma is an online design application that is used mainly for UI/UX design. It has real-time collaboration, making it a great option for teams. The free plan has limited file storage but is good enough for small projects and new users. 4. Inkscape If vector graphics are your specialty, then Inkscape is a great free option. It’s perfect for designing logos, icons, and illustrations with high-end features such as path operations, text tools, and node editing. 5. Pixlr Pixlr is an online photo editor that offers AI-driven tools for fast and simple edits. It’s easy to use, so it’s perfect for beginners who want to improve photos without complicated software. Best Paid Graphic Design Tools 1. Adobe Photoshop A market leader, Adobe Photoshop continues to be the choice of expert designers. Photoshop features sophisticated tools such as AI-driven selections, generative fill, and 3D editing. Photoshop can be accessed through an Adobe Creative Cloud subscription, beginning at approximately $20.99 per month. 2. Adobe Illustrator For vector design, the best option is Adobe Illustrator. It’s popular for logo creation, illustrations, and typography. With smooth integration with other Adobe software, it’s a professional must-have, offered through a subscription. 3. Affinity Designer Affinity Designer is a great alternative to Adobe Illustrator with a one-time purchase option rather than a subscription. It features professional-grade vector editing capabilities, which make it an affordable yet powerful option for designers seeking a capable but personalized solution. 4. CorelDRAW CorelDRAW is another capable vector graphic design software employed by branding, marketing, and illustration professionals. It features AI tools and a user-friendly interface but at a premium price. 5. Sketch Sketch is a widely used UI/UX design tool known for its simplicity and efficiency. It’s primarily available for macOS and is subscription-based, making it a great choice for designers working on web and mobile interfaces. Final Thoughts Selecting the most appropriate graphic design software is based on your requirements, budget, and level of expertise. Canva and GIMP are ideal for newbies as they are free, while Adobe Photoshop or Illustrator might be more suitable for experts due to their professional features. Irrespective of whether you choose a free or paid software, taking the time to learn the application can significantly improve your designing skills. What’s your go-to graphic design software in 2025? Let us know in the comments!

Best Free & Paid Graphic Design Tools in 2025 Read More »
Adobe Photoshop vs. Canva: Which One Should You Use?

Of Graphic Design programs, two of the most commonly used are Adobe Photoshop and Canva. Each has its own special features suited to different kinds of users. But what should you use? In this article, we will compare Photoshop and Canva to guide you in choosing. Ease of Use Canva is user-friendly for beginners and non-designers. Its drag-and-drop feature, editable templates, and large repository of stock photos, fonts, and elements allow anyone to design beautifully in a matter of minutes. Photoshop has a more advanced learning curve. It provides powerful image editing capabilities, advanced typography, and digital art, making it perfect for professionals. Features and Capabilities Photoshop is a professional photo manipulation, retouching, and intricate graphic design software. It features layer-based editing, sophisticated selection tools, and AI-driven improvements. Canva, though not as sophisticated, features pre-made templates, easy-to-use components, and collaboration capabilities, ideal for social media images, presentations, and promotional materials. Customization and Flexibility If you want total creative control of your designs, Photoshop is the best bet. It enables users to design highly personalized graphics from the ground up. Canva, on the other hand, prioritizes ease of use, with pre-made templates and minimal customization. But it’s perfect if you want professionally looking designs without wasting hours on them. Best For Photoshop: Professional graphic designers, photographers, and digital artists requiring sophisticated editing capabilities. Canva: Small business owners, social media marketers, and newbies seeking simple-to-create designs without a high learning curve. Final Verdict If you require precision, control, and sophisticated design capabilities, Photoshop would be a better option. However, if you like convenience, affordability, and easy-to-use design tools, Canva is an excellent alternative. Your decision is ultimately based on the requirements of your design and your level of expertise. Which one are you inclined to use? Let us know in the comments!  

Adobe Photoshop vs. Canva: Which One Should You Use? Read More »

How to Create a Stunning Logo: A Step-by-Step Guide

How to Create a Stunning Logo: A Step-by-Step Guide A well-crafted logo is essential for establishing a brand’s identity. It symbolizes the business, reflects its values, and leaves a memorable impression on customers. Whether you’re creating a logo for your own venture or for a client, this step-by-step guide will assist you in designing a remarkable and professional logo. ## Step 1: Understand the Brand Before diving into the design process, it’s important to thoroughly understand the brand. Consider these questions: – What services or products does the business offer? – What are its fundamental values? – Who is the intended audience? – What message should the logo communicate? An effective logo should resonate with the brand’s character and mission. ## Step 2: Research & Gather Inspiration Examine logos from competitors to grasp industry trends and discover what resonates well. Draw inspiration from design platforms such as: – **Dribbble** – **Behance** – **Pinterest** – **Instagram** Studying successful logos can spark ideas for your own design. ## Step 3: Choose the Right Design Style There are various logo styles, and the right choice hinges on the brand’s identity. Some popular styles include: – **Minimalist** – Simple and clean (e.g., Apple, Nike) – **Vintage** – Classic and nostalgic (e.g., Harley-Davidson) – **Modern** – Sleek and contemporary (e.g., Airbnb) – **Handwritten** – Friendly and personal (e.g., Coca-Cola) Selecting a style that reflects the brand ensures a unified visual identity. ## Step 4: Select the Right Colors & Typography ### Colors: Colors can evoke specific emotions and associations, so choose wisely. For instance: – **Red** – Excitement, passion, energy – **Blue** – Trust, professionalism, calmness – **Yellow** – Optimism, creativity, friendliness – **Green** – Growth, health, sustainability ### Typography: Fonts also play a significant role in shaping brand perception. Some options include: – **Serif fonts** – Classic and formal (e.g., Times New Roman) – **Sans-serif fonts** – Modern and clean (e.g., Helvetica)

How to Create a Stunning Logo: A Step-by-Step Guide Read More »

A Beginner’s Guide to Graphic Design: Essential Tools & Skills

A Beginner’s Guide to Graphic Design: Essential Tools & Skills Graphic design is a vibrant and creative field that merges art with technology to visually communicate ideas. Whether you aim to be a professional designer or simply want to craft appealing visuals, learning the right tools and skills is crucial. This guide will introduce you to the basics of graphic design, the essential tools, and the key skills you need to begin your journey. Understanding Graphic Design At its core, graphic design focuses on visual communication. It involves creating designs for various formats, both digital and print, utilizing typography, color, images, and layout techniques. The objective is to convey messages in a way that is both effective and visually pleasing. Essential Tools for Graphic Designers To produce high-quality designs, having the right tools is necessary. Here are some of the most widely used graphic design tools today: 1. **Design Software** – **Adobe Photoshop** – Perfect for image editing, digital painting, and graphic manipulation. – **Adobe Illustrator** – Ideal for creating vector graphics, logos, and illustrations. – **Adobe InDesign** – Used for page layout and print design. – **Canva** – A user-friendly tool for social media graphics and presentations. – **Figma** – A collaborative UI/UX design tool for web and app design. 2. **Hardware Requirements** – A powerful computer with a high-resolution display. – A graphics tablet (like a Wacom) for digital drawing. – A color-accurate monitor to ensure precise color representation. 3. **Stock Resources & Fonts** – Websites such as **Unsplash**, **Pexels**, and **Freepik** provide free stock images. – **Google Fonts** and **Adobe Fonts** offer a wide variety of typefaces. Essential Skills for Graphic Designers To become a skilled graphic designer, you need to master several key skills. Here are some of the most vital ones: 1. **Typography Mastery** Knowing how to select and pair fonts is crucial for creating readable and engaging designs.

A Beginner’s Guide to Graphic Design: Essential Tools & Skills Read More »

Applying AI to Prompt Engineering

Applying AI to Prompt Engineering: Realizing the Full Potential of Generative Models Artificial Intelligence (AI) has transformed the manner in which we communicate with machines, particularly with the advent of generative models such as ChatGPT, DALL·E, and others. Yet, to get the best out of these AI models, users need to learn the art of prompt engineering. Through the use of AI itself in this endeavor, we can improve our prompts, maximize responses, and tap into unprecedented levels of creativity and efficiency. What is Prompt Engineering? Prompt engineering is the process of designing good and efficient prompts to get the desired output from AI models. Because AI response relies so heavily on what’s input, a well-designed prompt can greatly enhance accuracy, relevance, and coherence. The Role of AI in Prompt Engineering AI itself can be an influential ally in optimizing prompt design. Here’s why: Automated Prompt Optimization AI tools have the ability to read user input and provide enhanced prompts based on past performance and best practices. AI tools are able to fine-tune prompts by rewording sentences, adding context, or rewording for readability. Adaptive Learning for Enhanced Prompts Machine learning models are able to learn how people interact with AI and incrementally offer improved versions of prompts. AI can monitor which prompts get the best responses and suggest modifications. Testing and Iteration AI-driven platforms can conduct A/B testing on different prompt variations to determine which one produces the most optimal responses, helping users develop better interactions over time. Contextual Enhancement By leveraging AI’s ability to analyze vast datasets, it can provide contextual insights that help structure more effective prompts. For instance, AI can suggest adding specific keywords or phrases to improve response accuracy. Multi-Modal Prompting AI is now more commonly being applied to fine-tune prompts of different types of media, like text-to-image and code-to-text generation. This will guarantee that the prompts are highly optimized irrespective of the AI model that is used. Best Practices for AI-Powered Prompt Engineering To derive maximum advantage out of AI prompt engineering, apply the following best practices: Be Specific: Generic results are delivered by vague prompts. Clearly articulate your purpose and offer required specifics. Use Examples: Showing the intended style of output assists AI models in producing more appropriate responses. Iterate and Experiment: Employ AI-powered tools to improve and experiment with varied prompts to find out what works best. Leverage AI Feedback: Make use of AI-powered feedback systems that provide recommendations for alterations to prompts in real time. Know Model Limitations: AI possesses limitations; writing prompts within such limitations guarantees optimal outcomes. Future of AI in Prompt Engineering With the accelerated development of AI, we can anticipate increasingly advanced tools that automatically create high-quality prompts. AI-powered interfaces will probably become even more sophisticated and offer real-time suggestions as well as help users build prompts with little or no manual intervention. The combination of AI and prompt engineering is transforming the future of human-machine interaction. Through the use of AI to optimize and improve prompt design, we are able to drastically improve how we engage with generative models—opening up new horizons in creativity, productivity, and innovation.

Applying AI to Prompt Engineering Read More »

Must-Know Adobe Illustrator Shortcuts for All Designers

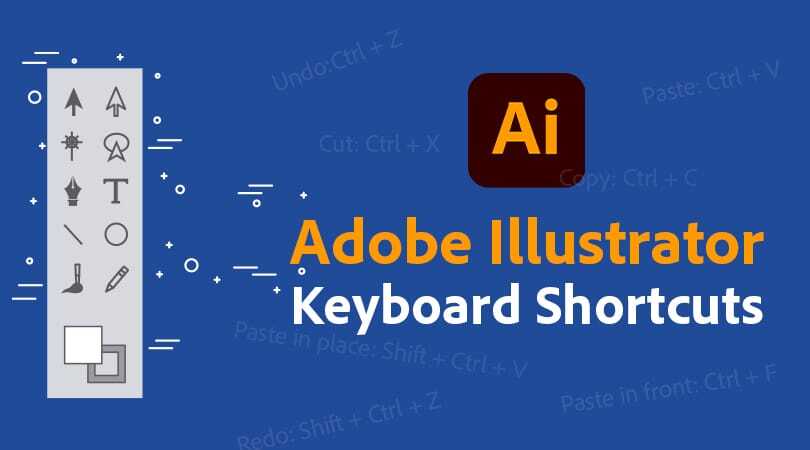
Must-Know Adobe Illustrator Shortcuts for All Designers: Adobe Illustrator is a mighty design tool with unlimited potential for crafting amazing vector graphics. Still, it’s not all about mastering the tools; it’s also about utilizing them more quickly. Shortcuts can significantly streamline your workflow, allowing you to work smarter, rather than harder. Below are some must-know Adobe Illustrator shortcuts for all designers. 1. Selection & Navigation Shortcuts – V – Selection Tool: Rapidly select and move objects. – A – Direct Selection Tool: Select and edit anchor points and paths. – Spacebar – Hand Tool: Pan around your canvas with ease. – Ctrl + Spacebar (Cmd + Spacebar on Mac) – Zoom In: Rapidly zoom in on details. – Alt + Spacebar (Option + Spacebar on Mac) – Zoom Out: Zoom out to view the larger picture. 2. Shape & Object Manipulation – M – Rectangle Tool: Create rectangles and squares instantly. – L – Ellipse Tool: Draw circles and ovals with ease. – Shift + Drag – Constrain Proportions: Keep the aspect ratio of shapes when resizing. – Alt + Drag (Option + Drag on Mac) – Duplicate Object: Duplicate an object in a snap. – Ctrl + D (Cmd + D on Mac) – Transform Again: Redo the previous transformation, ideal for creating patterns. 3. Text & Type Tool Shortcuts – T – Type Tool: Click and type anywhere on the canvas. – Ctrl + Shift + O (Cmd + Shift + O on Mac) – Create Outlines: Turn text into editable vector shapes. – Ctrl + Shift + B (Cmd + Shift + B on Mac) – Hide/Show Bounding Box: Toggle bounding box visibility for improved text alignment. – Ctrl + Shift + >/< (Cmd + Shift + >/< on Mac) – Increase/Decrease Font Size: Resize text without going through the menu. 4. Layer & Grouping Commands – *Ctrl + G (Cmd + G on Mac)* – Group Objects: Group multiple objects together. – Ctrl + Shift + G (Cmd + Shift + G on Mac) – Ungroup Objects: Break grouped objects apart. – Ctrl + [ or ] (Cmd + [ or ] on Mac) – Send Backward/Bring Forward: Rearrange the layering order of objects. – Ctrl + Shift + [ or ] (Cmd + Shift + [ or ] on Mac) – Send to Back/Bring to Front: Put objects straight on top or at the bottom layer. 5. Pathfinder & Alignment Shortcuts – Shift + Ctrl + F9 (Shift + Cmd + F9 on Mac) – Open Pathfinder Panel: Quickly open path merging tools. – Shift + Ctrl + ] (Shift + Cmd + ] on Mac) – Align to Artboard: Center objects on the canvas. Ctrl + Alt + Shift + J (Cmd + Option + Shift + J on Mac) – Justify Paragraph Text: Maintain text alignment consistency. Boost Your Efficiency Memorizing these shortcuts may take time, but once they become second nature, your design process will be faster and smoother. Try incorporating a few at a time into your workflow, and soon, you’ll be designing with speed and precision. Happy designing!

Must-Know Adobe Illustrator Shortcuts for All Designers Read More »

How to Create a High-Converting Landing Page

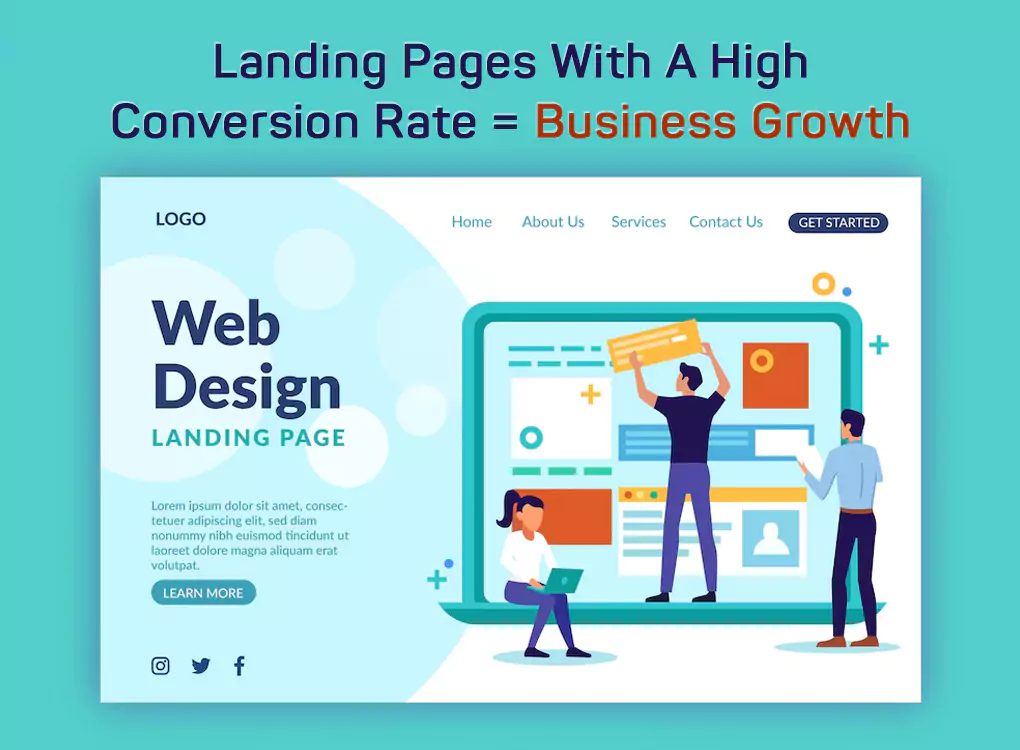
A landing page is the most critical aspect of any online marketing campaign. It acts as the initial interaction point between your brand and target customers. An effective landing page can drastically improve conversion rates; be it a lead generation page, selling something, or pitching a service. In this post, we’re going to talk about key factors that help create a high-converting landing page. 1. Define Your Goal Clearly Before you design your landing page, define the primary objective of it. Are you looking for newsletter subscribers, product purchases, or event registrations? You can properly frame the page and keep unnecessary elements away when you have a clear goal. 2. Craft a Compelling Headline Your headline is where the visitor first sees you, so it needs to be attention-grabbing at a glance. Keep it direct, concise, and benefit-driven. Your headline tells the reader the value of your offer in just a few words. 3. Use Engaging Visuals High-quality images or videos combined with graphic designs can make your landing page very appealing to the eye and drive your message home. Apply images that are relevant and follow the content so as not to distract from it. 4. Write Persuasive Copy The body text must be engaging and centered on the needs of the visitor. Talk about the benefits of your offer rather than the features. Use simple persuasive language and short paragraphs for easy reading. 5. Include a Strong Call-to-Action (CTA) Your CTA button is what makes the difference in conversions. Use action words such as “Get Started,” “Download Now,” or “Claim Your Free Trial.” A CTA needs to stand out on the page using a contrasting color and at an eye-level position. 6. Build Trust with Social Proof Adding testimonials, reviews, case studies, or trust badges can enhance credibility. Social proof reassures visitors that others have benefited from your product or service, increasing their likelihood of taking action. 7. Optimize for Mobile With a significant percentage of users browsing on mobile devices, your landing page must be fully responsive. Ensure that all elements adjust properly on smaller screens and that the CTA remains easily accessible. 8. Minimize Distractions A clean and focused landing page should be high converting. Eliminate unnecessary navigation menus and extra links that might pull visitors away from your CTA. The less distraction, the higher the chance of conversion. 9. Use A/B Testing No landing page is perfect at first. A/B testing different elements, such as headlines, CTA buttons, colors, or images, can help you determine what works best. Continuous optimization based on data insights will improve conversion rates over time. 10. Optimize Loading Speed Slow-loading pages can increase bounce rates. Optimize your images, use a reliable hosting provider, and minimize unnecessary scripts to ensure your landing page loads quickly. Final Thoughts A high-converting landing page requires a strategic approach. With clarity, compelling content, trust-building elements, and optimization, you can design a page that really engages your visitors and pushes them to action. Test, refine, and continually improve your landing page to maximize conversions and reach your business goals.

How to Create a High-Converting Landing Page Read More »

How is Augmented Reality Used in Graphic Design?

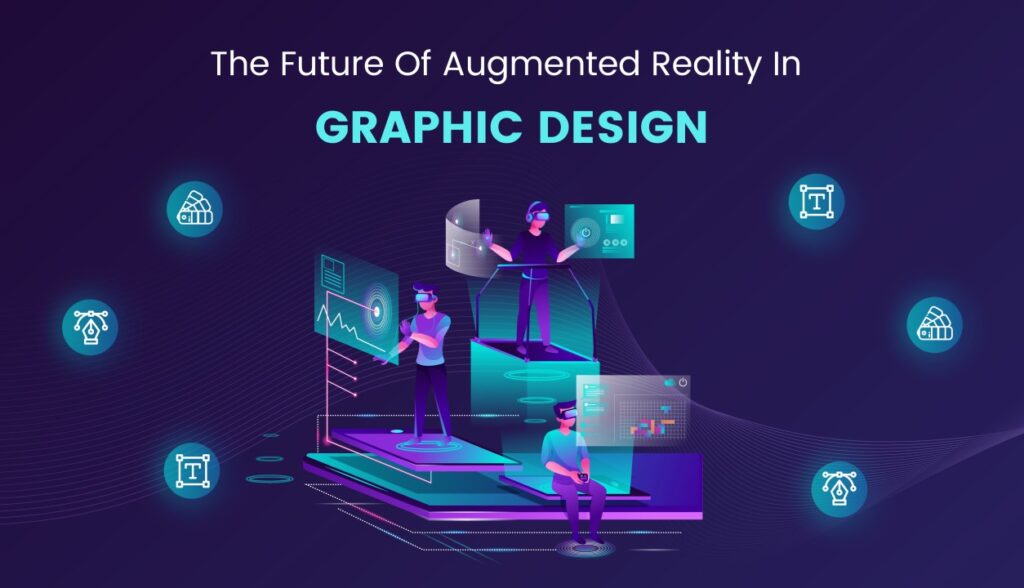
Augmented reality is changing the face of graphic design, merging digital and physical experiences in ways that were never thought possible. Designers now use AR to create immersive, interactive visuals that engage audiences and redefine brand experiences. Whether in advertising, product packaging, or user interfaces, AR is transforming how we interact with digital content.   Improving Branding and Marketing AR allows brands to create dynamic marketing campaigns that captivate audiences. Companies use AR-powered graphics in advertisements, brochures, and posters, where users can scan a QR code to unlock interactive 3D visuals, videos, or animations. This approach makes static materials come to life, offering consumers an engaging experience that leaves a lasting impression.   Interactive Product Packaging Brands are now using AR to make product packaging more interactive. By scanning a package with a smartphone, users can access animations, product information, or even a virtual unboxing experience. This enhances customer engagement and provides valuable information in an innovative and entertaining way.   Revolutionizing UI/UX Design Graphic designers working in UI/UX development use AR to create more immersive and intuitive user interfaces. AR-driven mobile apps and websites now feature interactive elements, allowing users to visualize products in real-world environments before making a purchase. This has become particularly popular in industries like fashion, home décor, and retail, where customers can try out products virtually before buying.   Transforming Print Media Traditional print medium is being restrategized with AR integration. There are now AR-based infographics along with videos and animations in magazines and newspapers, available to scan to access certain pieces of extended content. This brings life to static print, making the reading experience more engaging and multi-dimensional.   Immersive Graphic Design for events and exhibitions Events, exhibitions, and trade shows are utilizing AR-powered graphics to create interactive booths and displays. Visitors can engage with digital overlays, 3D models, or real-time data visualizations using their smartphones or AR glasses. This elevates the overall experience, making it more engaging and memorable.   Future of AR in Graphic Design As AR technology continues to advance, graphic designers will have even more tools at their disposal to create stunning, interactive content. From AR-infused social media filters to virtual art installations, the possibilities are endless. Designers who embrace AR will not only enhance user engagement but also redefine the way audiences interact with digital media.   Conclusion Augmented reality is reshaping the graphic design landscape by adding interactivity, depth, and engagement to visual content. Brands, marketers, and designers are leveraging AR to create compelling experiences that bridge the gap between the digital and physical worlds. As this technology continues to evolve, its impact on graphic design will only grow, opening doors to even more creative and immersive possibilities.

How is Augmented Reality Used in Graphic Design? Read More »

10 Creative Workflow Hacks Every Designer Should Know

As a designer, your workflow is crucial to your productivity and creativity. But let’s face it: working on a design project from start to finish can sometimes feel like a marathon. Whether you’re designing logos, websites, or illustrations, maintaining focus and efficiency while staying inspired can be a challenge. Fortunately, there are simple but effective strategies you can implement to streamline your process and boost your creativity. Here are 10 creative workflow hacks every designer should know! Power Up Your Work Environment Your physical workspace plays a huge role in your design process. Make sure your environment is comfortable, inspiring, and free from distractions. Good lighting, an ergonomic chair, and a clutter-free desk will help you stay focused. Keep essential items within reach—think sketchbooks, coffee, or noise-canceling headphones. Setting up a space that fuels your creativity is one of the best investments you can make in your workflow. Organize Your Digital Workspace Your digital workspace should be as organized as your physical one. Create a folder structure that works for you and stick to it. Categorize your assets—logos, fonts, textures, and stock images—into labeled folders so they’re easy to find. Tools like cloud storage services (Google Drive, Dropbox, etc.) and design asset managers (like Adobe Bridge) can help you keep everything in order and accessible from anywhere. Master Keyboard Shortcuts Keyboard shortcuts are a designer’s secret weapon for speeding up repetitive tasks. Master the most common shortcuts in your design software—like Photoshop, Illustrator, or Figma—and watch how much time you save. Instead of wasting precious seconds clicking around, become familiar with commands for tools, layers, and navigation. You’ll soon find yourself working faster and with fewer interruptions to your creative flow.   Create Reusable Templates Templates are time-savers for any designer, and they help you avoid reinventing the wheel. If you frequently design items like social media posts, websites, or presentations, create reusable templates for different styles and sizes. Customize them for each project, saving you the hassle of starting from scratch every time. Not only does this streamline your process, but it also ensures consistency across your work.   Leverage Collaboration Tools Design is rarely a solo endeavor—collaborating with clients, developers, and other creatives is often key to a successful project. Using collaboration tools like Slack, Figma, or InVision helps keep everyone on the same page. Share designs, gather feedback in real-time, and ensure smooth communication throughout the project. Working together digitally has never been easier, and these tools can really speed up the iteration process. Optimize Your Design Process Efficiency in design doesn’t just happen; it’s something you actively work toward. One way to optimize your workflow is by creating and following a clear process. Whether it’s wireframing first, gathering references, or experimenting with color schemes before diving into detailed design, setting a roadmap will help you stay on track. Once you find a rhythm, it will make each project feel less daunting.   Maintain a Resource Library As a designer, you’re always collecting resources—fonts, brushes, patterns, textures, and stock imagery. Instead of keeping everything scattered in different places, organize your resources into a dedicated library. Tools like Creative Market, Envato Elements, or even your own organized folders can help you quickly access the materials you need for each project. You’ll find yourself saving time searching for the right assets, and it’ll encourage you to get creative with your designs.   Take Breaks and Recharge Design work can be mentally exhausting, especially when you’re deep into a project. Taking regular breaks is essential for maintaining focus and creativity. Step away from your computer, take a walk, stretch, or do something that refreshes your mind. The idea is to give yourself space to recharge so that you can approach your design work with a fresh perspective and more energy.   Embrace Flexibility and Experimentation Don’t be afraid to break the rules and experiment with new techniques. Design is a constantly evolving field, and sometimes the most innovative solutions come from trying something unexpected. Embrace flexibility in your process—be open to experimenting with new tools, styles, or workflows. The more you push the boundaries of your design comfort zone, the more you’ll discover new ways to solve creative challenges.   Thriving in a Creative World Finally, remember that thriving as a designer isn’t just about workflow hacks; it’s about nurturing your creativity. Surround yourself with inspiration, keep learning new skills, and stay connected with other designers. Creativity can ebb and flow, but by maintaining a healthy balance between productivity and inspiration, you’ll find yourself continually evolving and improving your craft. Design isn’t just about making things look good—it’s about problem-solving, communicating, and always pushing the envelope. By implementing these workflow hacks into your design routine, you’ll be well on your way to becoming more efficient, creative, and inspired. From organizing your workspace to embracing new tools, every tweak you make to your process will help you grow and improve as a designer.

10 Creative Workflow Hacks Every Designer Should Know Read More »

Bootstrap vs Tailwind CSS: Which Framework is Better for Modern Web Development?

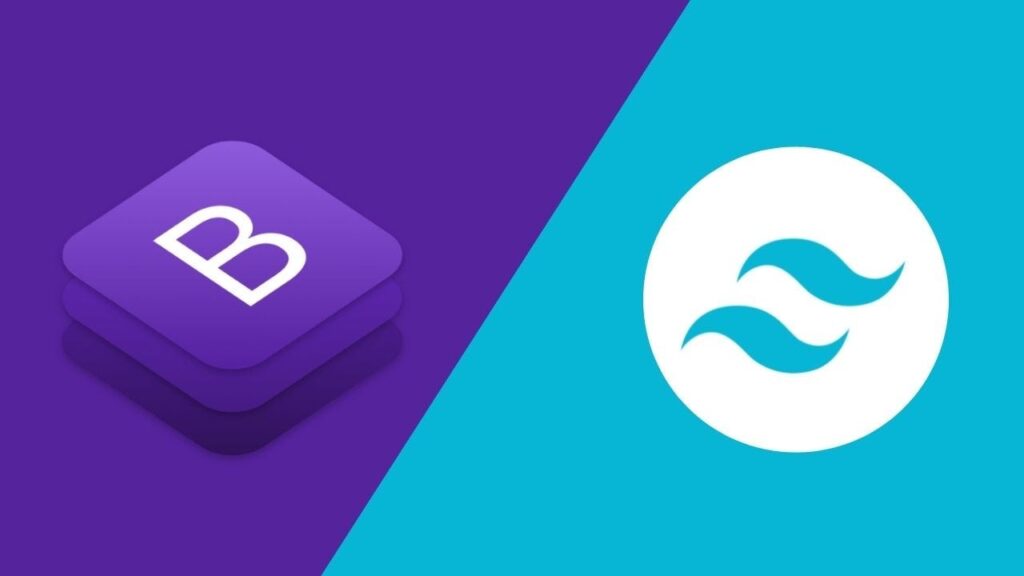
In the fast-paced realm of web development, selecting the right CSS framework can significantly impact your project’s success. Two of the leading frameworks in use today are Bootstrap and Tailwind CSS. Each has its unique advantages and disadvantages, but which one aligns better with your specific needs? In this blog, we will explore the fundamental differences, practical applications, and the pros and cons of both Bootstrap and Tailwind CSS to assist you in determining the most suitable framework for your upcoming project. Key Points to Cover: Overview of Bootstrap and Tailwind CSS What is Bootstrap? What is Tailwind CSS? Ease of Use and Learning Curve Bootstrap: User-friendly with ready-to-use components. Tailwind CSS: More challenging to learn but provides greater flexibility. Customization and Flexibility Bootstrap: Limited customization options due to its predefined styles. Tailwind CSS: Highly customizable through utility classes. Performance and File Size Bootstrap: Larger file size because of its prebuilt components. Tailwind CSS: Smaller file size, especially with Purge CSS to eliminate unused styles. Design Consistency vs. Creativity Bootstrap: Promotes design consistency but may result in generic appearances. Tailwind CSS: Fosters unique designs but demands more effort. Community and Ecosystem Bootstrap: Boasts a larger community, comprehensive documentation, and numerous third-party resources. Tailwind CSS: An expanding community, excellent documentation, and modern tooling. Use Cases When to use Bootstrap: Ideal for rapid prototyping, beginner projects, or when design consistency is essential. When to use Tailwind CSS: Best for custom designs, modern web applications, or when performance is a top priority. Conclusion: Which is Better? The answer depends on your project requirements, team skills, and design objectives. Bootstrap is perfect for quick, consistent designs, while Tailwind CSS excels in highly customized projects.

Bootstrap vs Tailwind CSS: Which Framework is Better for Modern Web Development? Read More »

Scroll to Top